Quick Summary
To troubleshoot a commercial door panic bar, first observe how it fails, then check the dogging, latch bolt, rods and strike plate in that order. Test after each change. A bar that is stuck or will not release is a life safety issue, so take the door out of service safely and stop if the device is damaged beyond simple repair.
- Push the bar slowly and listen to identify the failure before adjusting anything.
- Check the dogging mechanism first, since engaged dogging makes the bar feel locked or stiff.
- Clean the latch bolt and strike opening, then apply a dry lubricant instead of oil.
- Do not cut a rod to force latch engagement, because cut rods cannot be adjusted later.
- Test release on signal and on power loss for any electronically controlled panic bar.
Table of Contents
- Identifying the Problem Before You Touch the Hardware
- Tools You Need and a Safety Check Before Starting
- Panic Bar Stuck Closed: Checking the Latch, Bolt and Dogging
- Panic Bar Top Latch Not Working: Rod and Latch Troubleshooting
- Panic Bar Strike Plate Adjustment and Checking Latch Alignment
- Troubleshooting Electronic Access Control and Preventative Maintenance
- Fixing Your Panic Bar and Getting Replacement Parts From Cal Royal Hardware
- Frequently Asked Questions
Identifying the Problem Before You Touch the Hardware
A commercial door panic bar that won't release, won't latch, or won't return properly is a life safety problem first and a hardware problem second. The panic bar, also called a crash bar or push bar, is the part of an exit device that lets people leave quickly in an emergency.
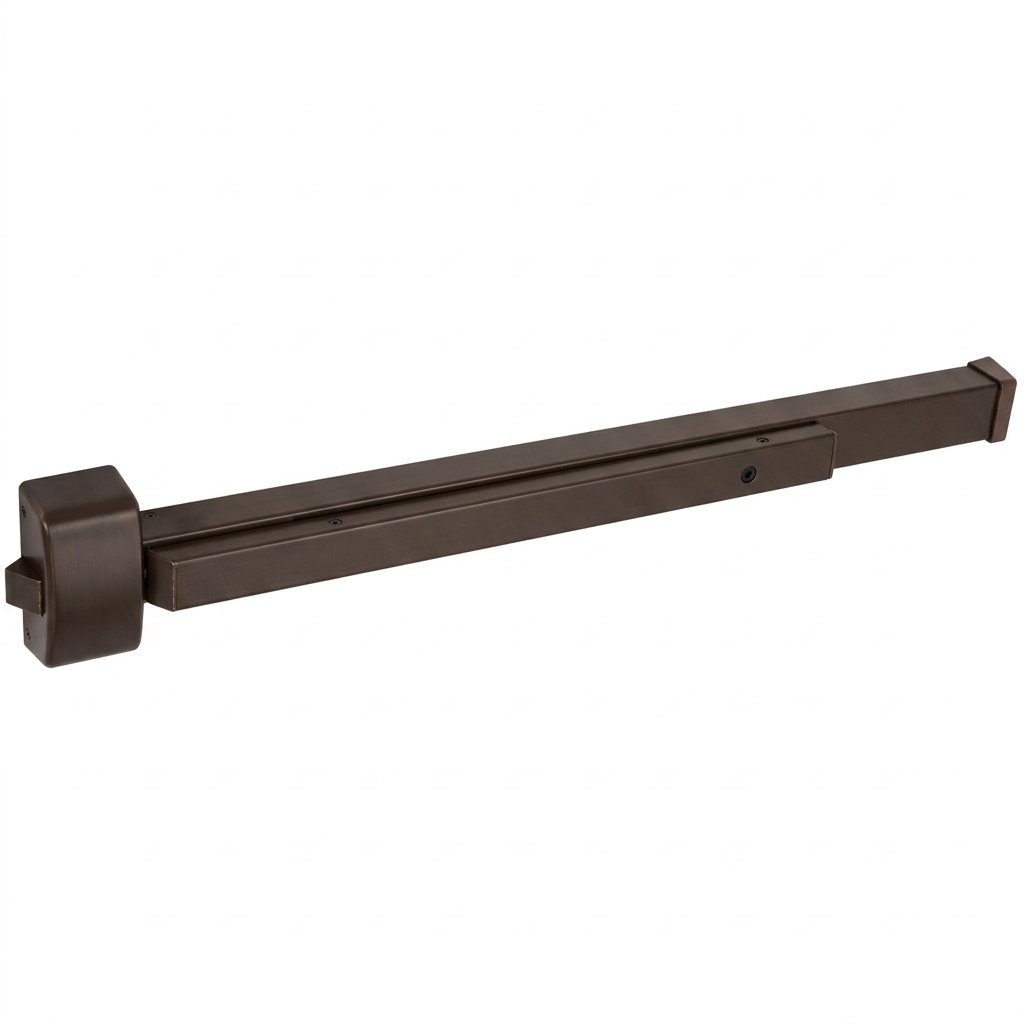
Before you adjust anything, observe how the device fails. Push the bar slowly and listen. Does the latch retract? Does the bar move freely? Does the door swing without catching? Each answer points to a different cause.
- Bar won't depress: Usually points to the latch bolt, dogging, or binding at the rod.
- Bar depresses but door stays shut: Often a latch or strike alignment issue.
- Bar sticks in the down position: Commonly a dogging mechanism or worn internal parts.
- Door won't latch when closed: Typically a strike plate, shim, or door frame problem.
Write down the symptom, the door's location, and whether the door is fire-rated. This record helps you decide whether the job is simple maintenance or a repair that needs a professional.
Tools You Need and a Safety Check Before Starting
Gather your tools before you begin. Most panic bar troubleshooting needs only basic hand tools:
- Hex (Allen) key set
- Phillips and flat-head screwdrivers
- Flashlight
- Shim kit
- Penetrating lubricant and a dry lubricant
- Tape measure
Before you work, take the door out of service if it can be done safely. Tell building occupants, and if the door is part of an egress path, arrange a temporary exit route. Never leave a fire exit blocked or disabled after you finish. Test the device fully before you return the door to normal use.
Panic Bar Stuck Closed: Checking the Latch, Bolt and Dogging
When the bar stays down or won't release, start inside the device. Check the dogging mechanism first. Dogging holds the latch retracted so the door can be used without the bar. If the dogging is engaged, the bar will feel locked or stiff.
Next, check the latch bolt. Push the bar and watch the bolt retract at the edge of the door. If it doesn't move fully, the bolt may be bound by the strike or by misalignment.
Inspecting the Bolt for Wear and Binding
Look closely at the latch bolt. Worn or bent bolts often cause binding. Look for:
- Rough or flattened edges on the bolt
- Gritty movement when you push the bar
- Debris, paint, or dust around the bolt
Clean the bolt and the strike opening, then apply a dry lubricant. Avoid oil-based products that collect dirt. If the bolt is damaged, replace it instead of forcing it.
Panic Bar Top Latch Not Working: Rod and Latch Troubleshooting
On devices with vertical rods, the top latch holds the door at the top of the frame while the bottom latch holds it at the floor.
Start by identifying the device type. Surface vertical rod (SVR) devices mount the rods on the face of the door. Concealed vertical rod (CVR) devices hide the rods inside the door.
Check the rods first. Look for bent rods, loose brackets, missing fasteners, and rods that rub against the door face or frame.
Work through the rod system in this order:
- Rod connectors: Confirm the connector at the bar and at each latch is tight. A loose connector lets the rod travel short of the latch.
- Rod guides and brackets: Check that guides are fastened and that rods run straight. A bent guide forces the rod to bind.
- Latch engagement: With the door closed, watch the top latch enter the top strike. It should throw fully without hitting the strike edge.
- Bottom latch: Confirm the bottom latch also engages the floor strike or threshold plate. A door that latches at the top but not the bottom can still be forced.
Watch out: Do not shorten a rod by cutting it to force latch engagement. Rods are sized to the door height, and a cut rod will not be adjustable later and may void the device listing.
Concealed Vertical Rod Exit Device Adjustment
Concealed vertical rod devices hide their rods inside the door. Adjustment usually happens at the top and bottom rod connections, not the visible door surface.
Loosen the adjustment screws slightly, align the rods so they move freely, and retighten. Test the bar after each small change. Over-tightening can bind the device and make it harder to operate.
For surface vertical rod devices, the same logic applies, but the rod connectors are visible on the door face.
After any rod adjustment, test the door from both sides, confirm the bar returns fully, and verify the door latches without being pulled or pushed.
Panic Bar Strike Plate Adjustment and Checking Latch Alignment
The strike plate is the metal piece on the frame that catches the latch. If the strike is out of line, the latch can hit the edge of the plate and fail to engage. This is one of the most common causes of a door that won't latch.
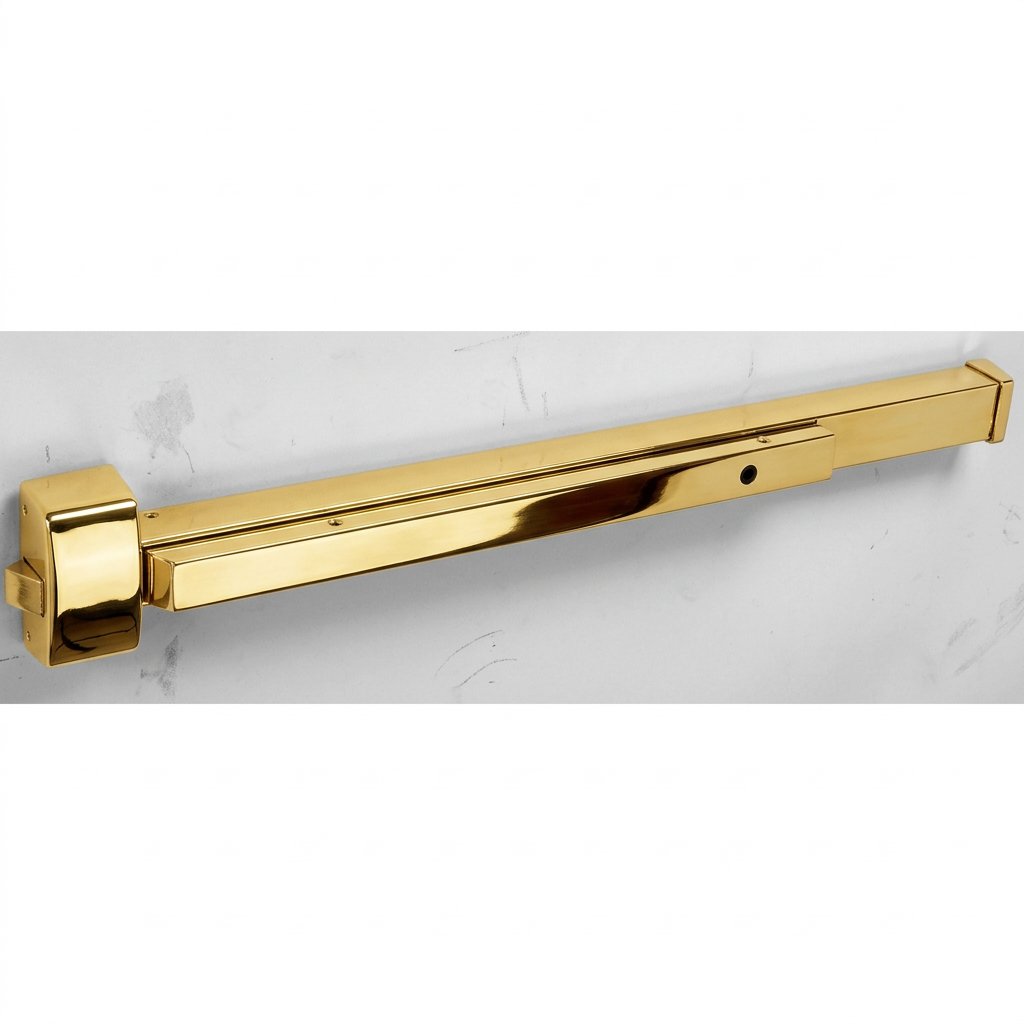
Close the door slowly and watch where the latch hits. If it strikes the plate off center, the plate may need to move. Loosen the strike screws and reposition the plate so the latch enters the opening cleanly. Shims can help when the frame has shifted. Place a thin shim behind the strike to bring it closer to the latch.
- Check that the door closes without forcing.
- Confirm the latch throws fully into the strike.
- Retighten all screws once the alignment is correct.
Once the strike is aligned, operate the bar several times. A good adjustment works smoothly and repeatedly.
Troubleshooting Electronic Access Control and Preventative Maintenance
Some panic bars connect to electronic access control, such as electric strikes, magnetic locks, or alarm contacts.
Start by identifying how the door is controlled. An electric strike replaces the mechanical strike and releases the latch electrically.
Check the power supply and wiring first. Confirm the power supply is energized, the fuse or breaker is intact, and the wiring connections at the device and at the power supply are tight.
Then confirm the fail-safe or fail-secure setting. A fail-safe device releases when power is lost, which is the typical requirement for an egress door.
Work through the electrical side in this order:
- Power: Confirm voltage at the device and at the power supply.
- Signal: Confirm the access control system is sending a release signal when a valid credential is used.
- Device: Confirm the electric strike or magnetic lock releases and re-locks cleanly.
- Integration: Confirm the panic bar still provides mechanical egress even if the electronics fail.
Watch out: Do not bypass electronic locking on a fire exit to make a door open.
Preventative Maintenance Schedule
Preventative maintenance keeps panic bars working reliably and catches problems before they become failures. A simple schedule helps:
- Monthly: Test the bar operation and confirm the door latches. On electrically controlled doors, confirm the device releases on signal and on power loss.
- Quarterly: Inspect screws, rods, and the strike plate for looseness. Check that the bar returns fully and that the door closes without being forced.
- Yearly: Lubricate moving parts, check the dogging, review the full device, and confirm the door still meets the egress and fire-door requirements that apply to it.
Keep a maintenance log for each door. Records make future troubleshooting faster and give you a history to compare against when a device starts to fail.
For broader guidance on keeping the full door system working together, see the resources at doorsandspecialties.com.
Preventative maintenance keeps panic bars working reliably, and the schedule below shows what to check and how often.
| Interval | Task | Purpose |
|---|---|---|
| Monthly | Test bar operation and latching | Confirm the door releases and latches |
| Monthly | Test release on signal and power loss | Confirm electronic devices behave correctly |
| Quarterly | Inspect screws, rods and strike plate | Catch looseness before failure |
| Quarterly | Check bar return and door closing | Confirm the door closes without forcing |
| Yearly | Lubricate moving parts and check dogging | Keep internal parts moving freely |
| Yearly | Review full device against egress and fire-door requirements | Confirm continued compliance |
Fixing Your Panic Bar and Getting Replacement Parts From Cal Royal Hardware
Most panic bar problems come down to four things: the latch, the strike, the rods, or the dogging. Work through them in that order, test after each change, and stop if the device is damaged beyond simple repair.
When a part is worn beyond adjustment, replacing it is often the safest choice. The A6600 Series Rim Exit Device is one example. For a door that won't latch, the guide on how to troubleshoot a door lock that won't latch covers more diagnostic steps. You can also read about how to stop door kick-ins with a reinforced strike plate when strike alignment is involved, and how to maintain commercial door closers to keep the full door system working together. For a broader look at failing hardware, see why heavy duty locks fail prematurely.
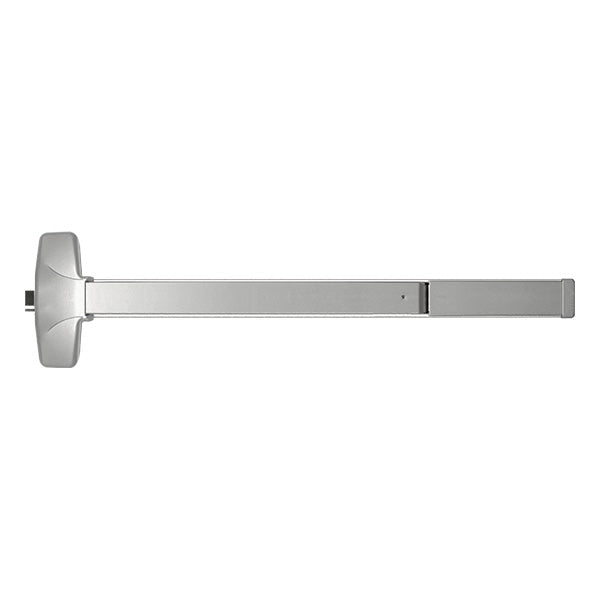
Before ordering any replacement, compare door width, strike type, mounting holes, and outside-access requirements. Check the manufacturer's specifications for sizing and confirm the exact package contents.
Panic Bar Troubleshooting FAQ
Why won't my panic bar release? Usually the dogging is engaged, the latch bolt is bound, or the rods are misaligned. Check those three areas first.
Why does my door not latch when I close it? The strike plate is often out of alignment or needs a shim. Adjust the strike so the latch enters cleanly.
Can I fix a fire-rated panic bar myself? Simple adjustments such as strike alignment are usually safe to attempt. Internal repairs on fire-rated devices should be handled by a qualified professional to keep the rating intact.
How often should panic bars be inspected? Test them monthly and inspect the hardware more thoroughly at least once a year.
Last Updated: November 15, 2026
Frequently Asked Questions
My panic bar lock isn't working. What can I do to troubleshoot this?
Start by confirming the bar retracts fully when pressed and the latch clears the strike. If it does not, check for binding at the mounting screws, look for debris in the housing, and inspect the bolt for wear. Test the door with the bar pressed and released several times. If the problem persists after these checks, the latch mechanism or vertical rods may need adjustment or replacement, and a qualified technician should inspect the device before the door is returned to regular use.
Why is my panic bar stuck closed?
A panic bar stuck closed usually has one of three causes: the latch bolt is binding against the strike plate, a dogging mechanism is engaged, or the vertical rods are out of alignment. Check whether the dogging setting is on first, then inspect the bolt for wear and confirm the strike is aligned with the latch. Lubricating the moving parts with a manufacturer-approved lubricant often restores smooth travel.
How do you adjust a panic bar strike plate?
Loosen the strike plate screws slightly, then shift the plate up, down, or side to side until the latch bolt enters the opening without resistance. Tighten the screws once the bolt drops in cleanly, and test the door by closing it and pressing the bar several times. Shims can correct larger gaps. Always confirm the adjustment matches the manufacturer's instructions for your specific exit device model.
What should I check if a panic bar's top latch is not working?
Check the top latch for binding, debris, and bent or worn components. Confirm the vertical rod connects securely to the latch and that the rod is not bent. Make sure the top strike is aligned with the latch, since a misaligned strike is a common cause of top latches failing to engage. If the top latch still does not hold after adjustment, the rod or latch may need replacement.